![DentalMarketing-Logo2-White copy-1.png]](https://grow.dentalmarketing.com/hs-fs/hubfs/DentalMarketing-Logo2-White%20copy-1.png?height=40&name=DentalMarketing-Logo2-White%20copy-1.png)
Purpose
To conduct a thorough review of a client’s current website and identify all key sections, content, and features that should be retained, updated, or repurposed for the new website. The aim is to preserve high-value elements that reflect credibility and build patient trust.
1. Preparation
- Review Client’s Onboarding Form and identify the focused services.
- Confirm that the client does/does not own the content.
- If yes, proceed with the deep dive.
- If not, add it to the Company Note dedicated to Website Information in Hubspot.
- Identify the current website URL.
- Create a copy of the “Website Deep Dive Template” document and rename it “PRACTICE NAME - Website Deep Dive” and store it in the folder “Website Deep Dives.”
- *Note: The website deep dive document will be added to all Content Documents for new website build-outs. The lead content writer is responsible for making sure it is added to all content documents.
2. Initial Walkthrough
Objective: Familiarize yourself with the site’s layout, navigation, and main section.
- Navigate through the homepage and identify key sections or elements, and use the template for reference.
- Check all internal pages
- About Us, Insurance, Our Technology, Smile Gallery, etc.
- Check the doctors’ bio pages, as well as meet our team and other relevant pages.
- Check all the services pages.
3. Review for Key Elements
Objective: This is the core list of things to look for when reviewing the website, ensuring you cover everything important for the new site.
-
Website Sections
-
About Us
-
Insurance
-
Our Technology
-
Smile Gallery
-
Doctors' Bio Pages
-
Services Pages
-
-
Visual Elements
-
Logos
-
Affiliation Logos
-
Awards
-
Service Accreditations
-
Technology Logos (e.g., iTero, WaterLase, CEREC, etc.)
-
-
Videos
-
Practice Highlight Video
-
Founder or Team Videos
-
-
Patient Features
-
Consultation Forms/Widgets
-
Review/Social Media Widgets
-
Patient Testimonials Videos
-
Smile Gallery/Before & After Images
-
-
Practice Highlights
-
Comfort Menu
-
Office Gallery/Tour
-
Insurance & Financing Details
-
Membership Plans
-
-
Forms & Payments
-
New Patient Form PDFs/Form Links
-
Payment Links
-
-
Doctor Profiles
-
Doctor Bios (with education, fun facts, awards, etc.)
-
-
Service Branding
-
Service Brand Logos (e.g., Invisalign, BioClear, BioHorizon, FastBraces, etc.)
-
5. Take Screenshots of all Key Elements
Objective: To document all important aspects of the website based on the template provided.
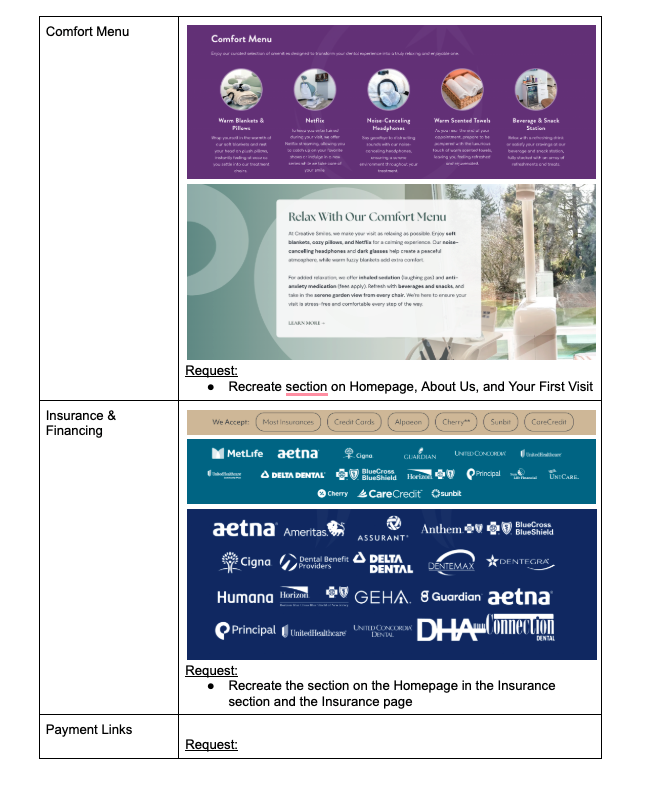
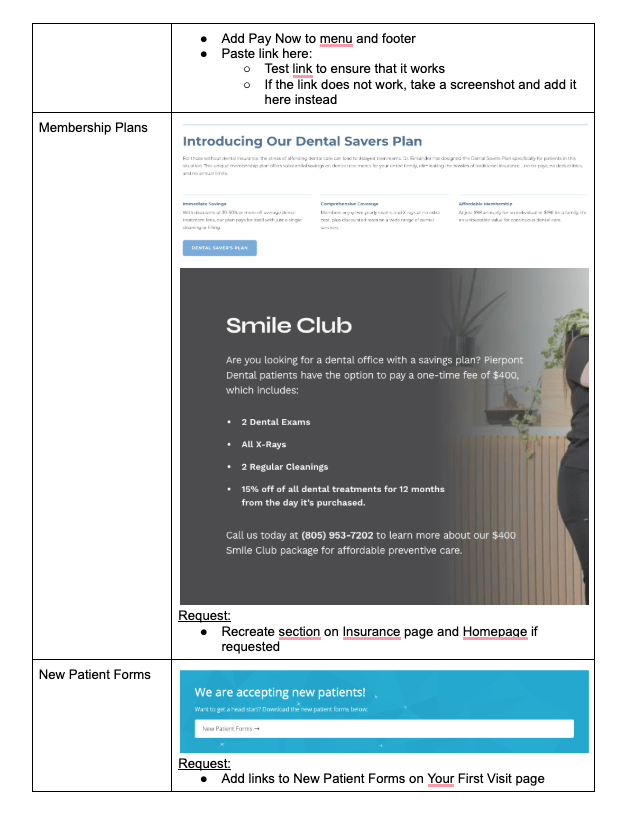
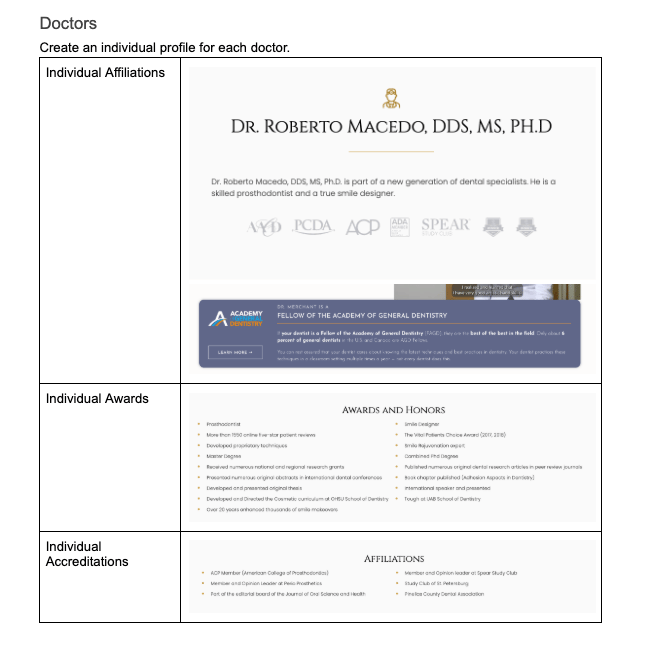
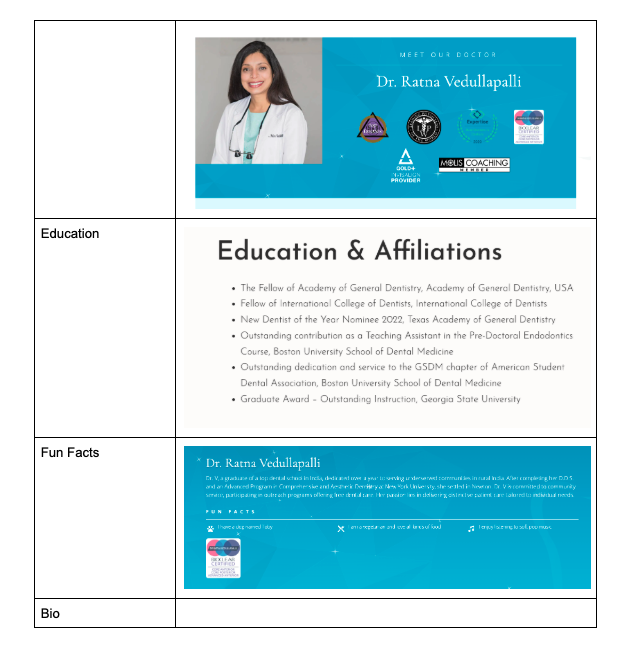
- Take close, cropped screenshots of each element.
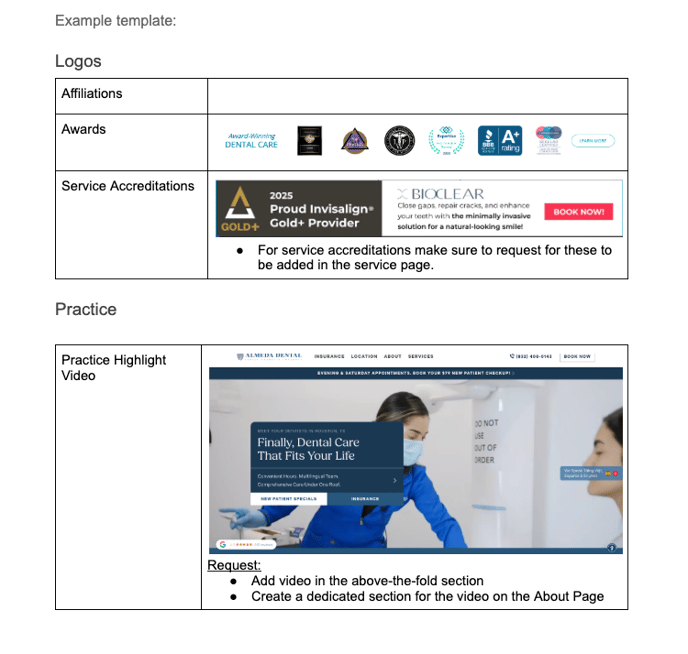
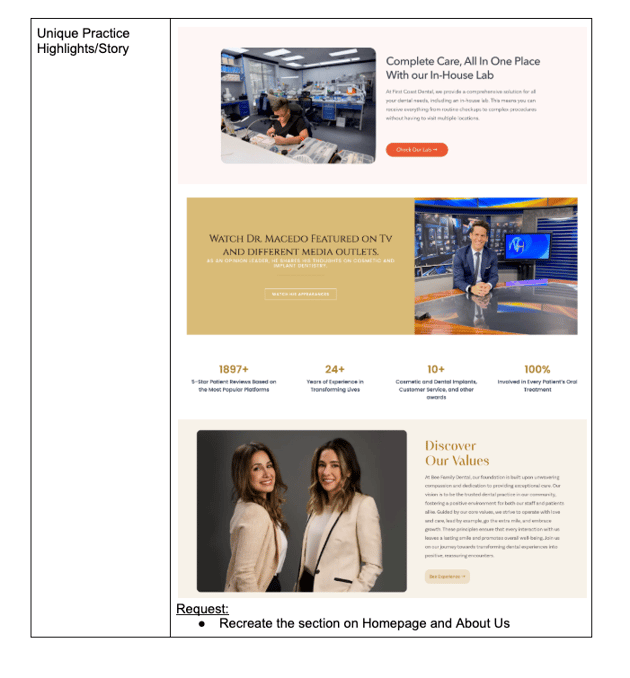
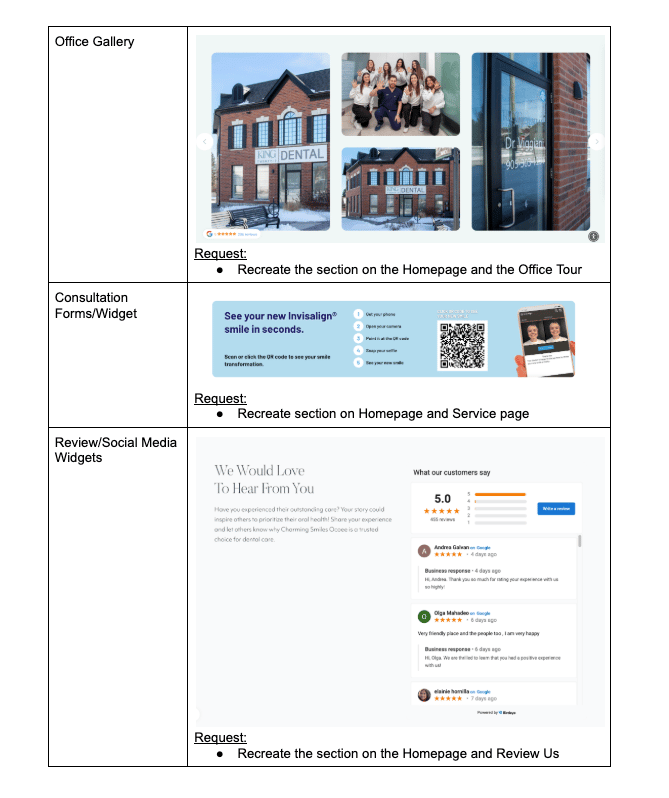
- Fill out the request information so that the designer knows where to place the element.
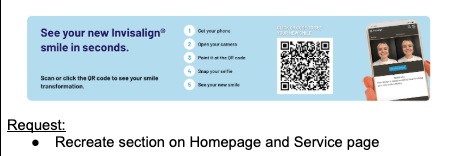
- If you're unsure if an element is necessary, reach out to Magen or Judith.
- Refer to the examples below for how to fill out the Website Deep Dive:
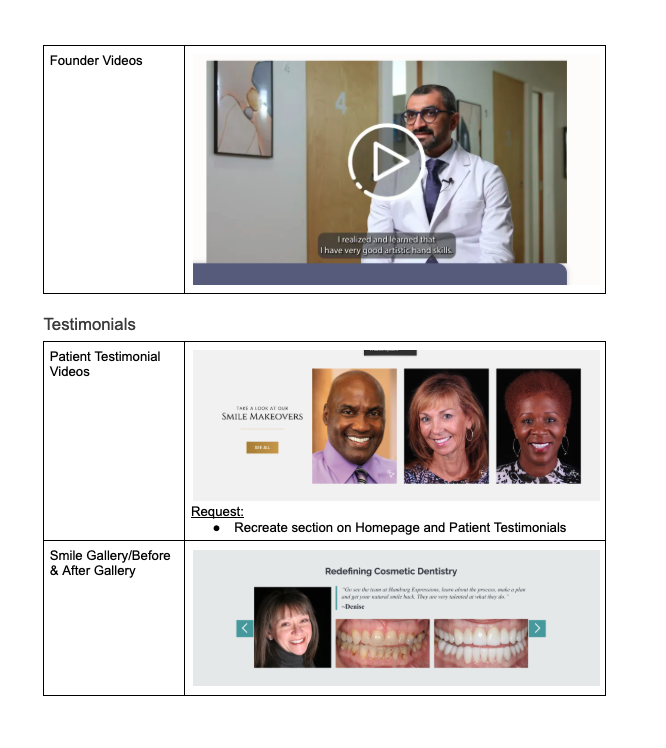
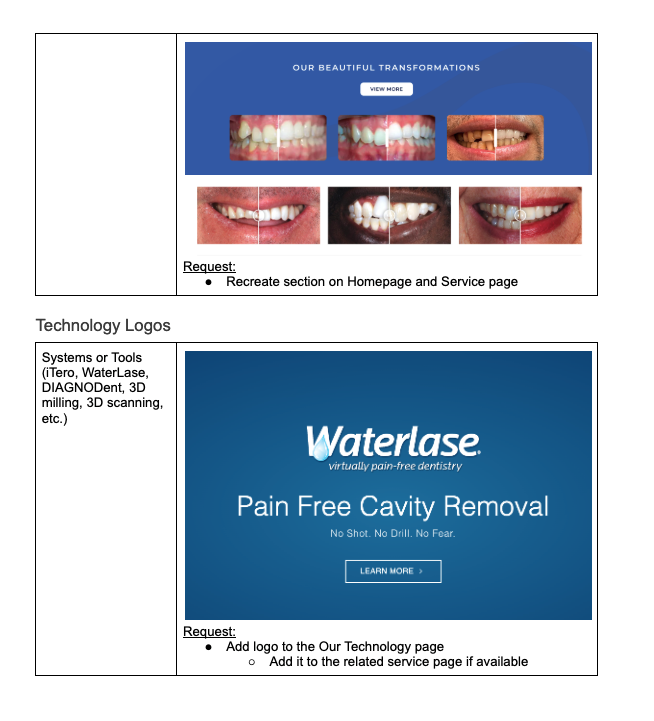
4. Review Sheet & Complete Task
Objective: Review screenshots to make sure all website elements are accounted for.
- Ensure all website elements are documented, making requests clear and actionable.
- Mark all empty boxes as N/A
- Share the Website Deep Dive document in HubSpot.